How It Works
Choose between adding files directly, or via one of our data connectors.Data Connectors
Connect cloud sources like Google Drive, Zoom, S3, and more.
Local Files
Add video files from your computer.
Public URLs
Paste YouTube, TikTok, or any HTTP URL.
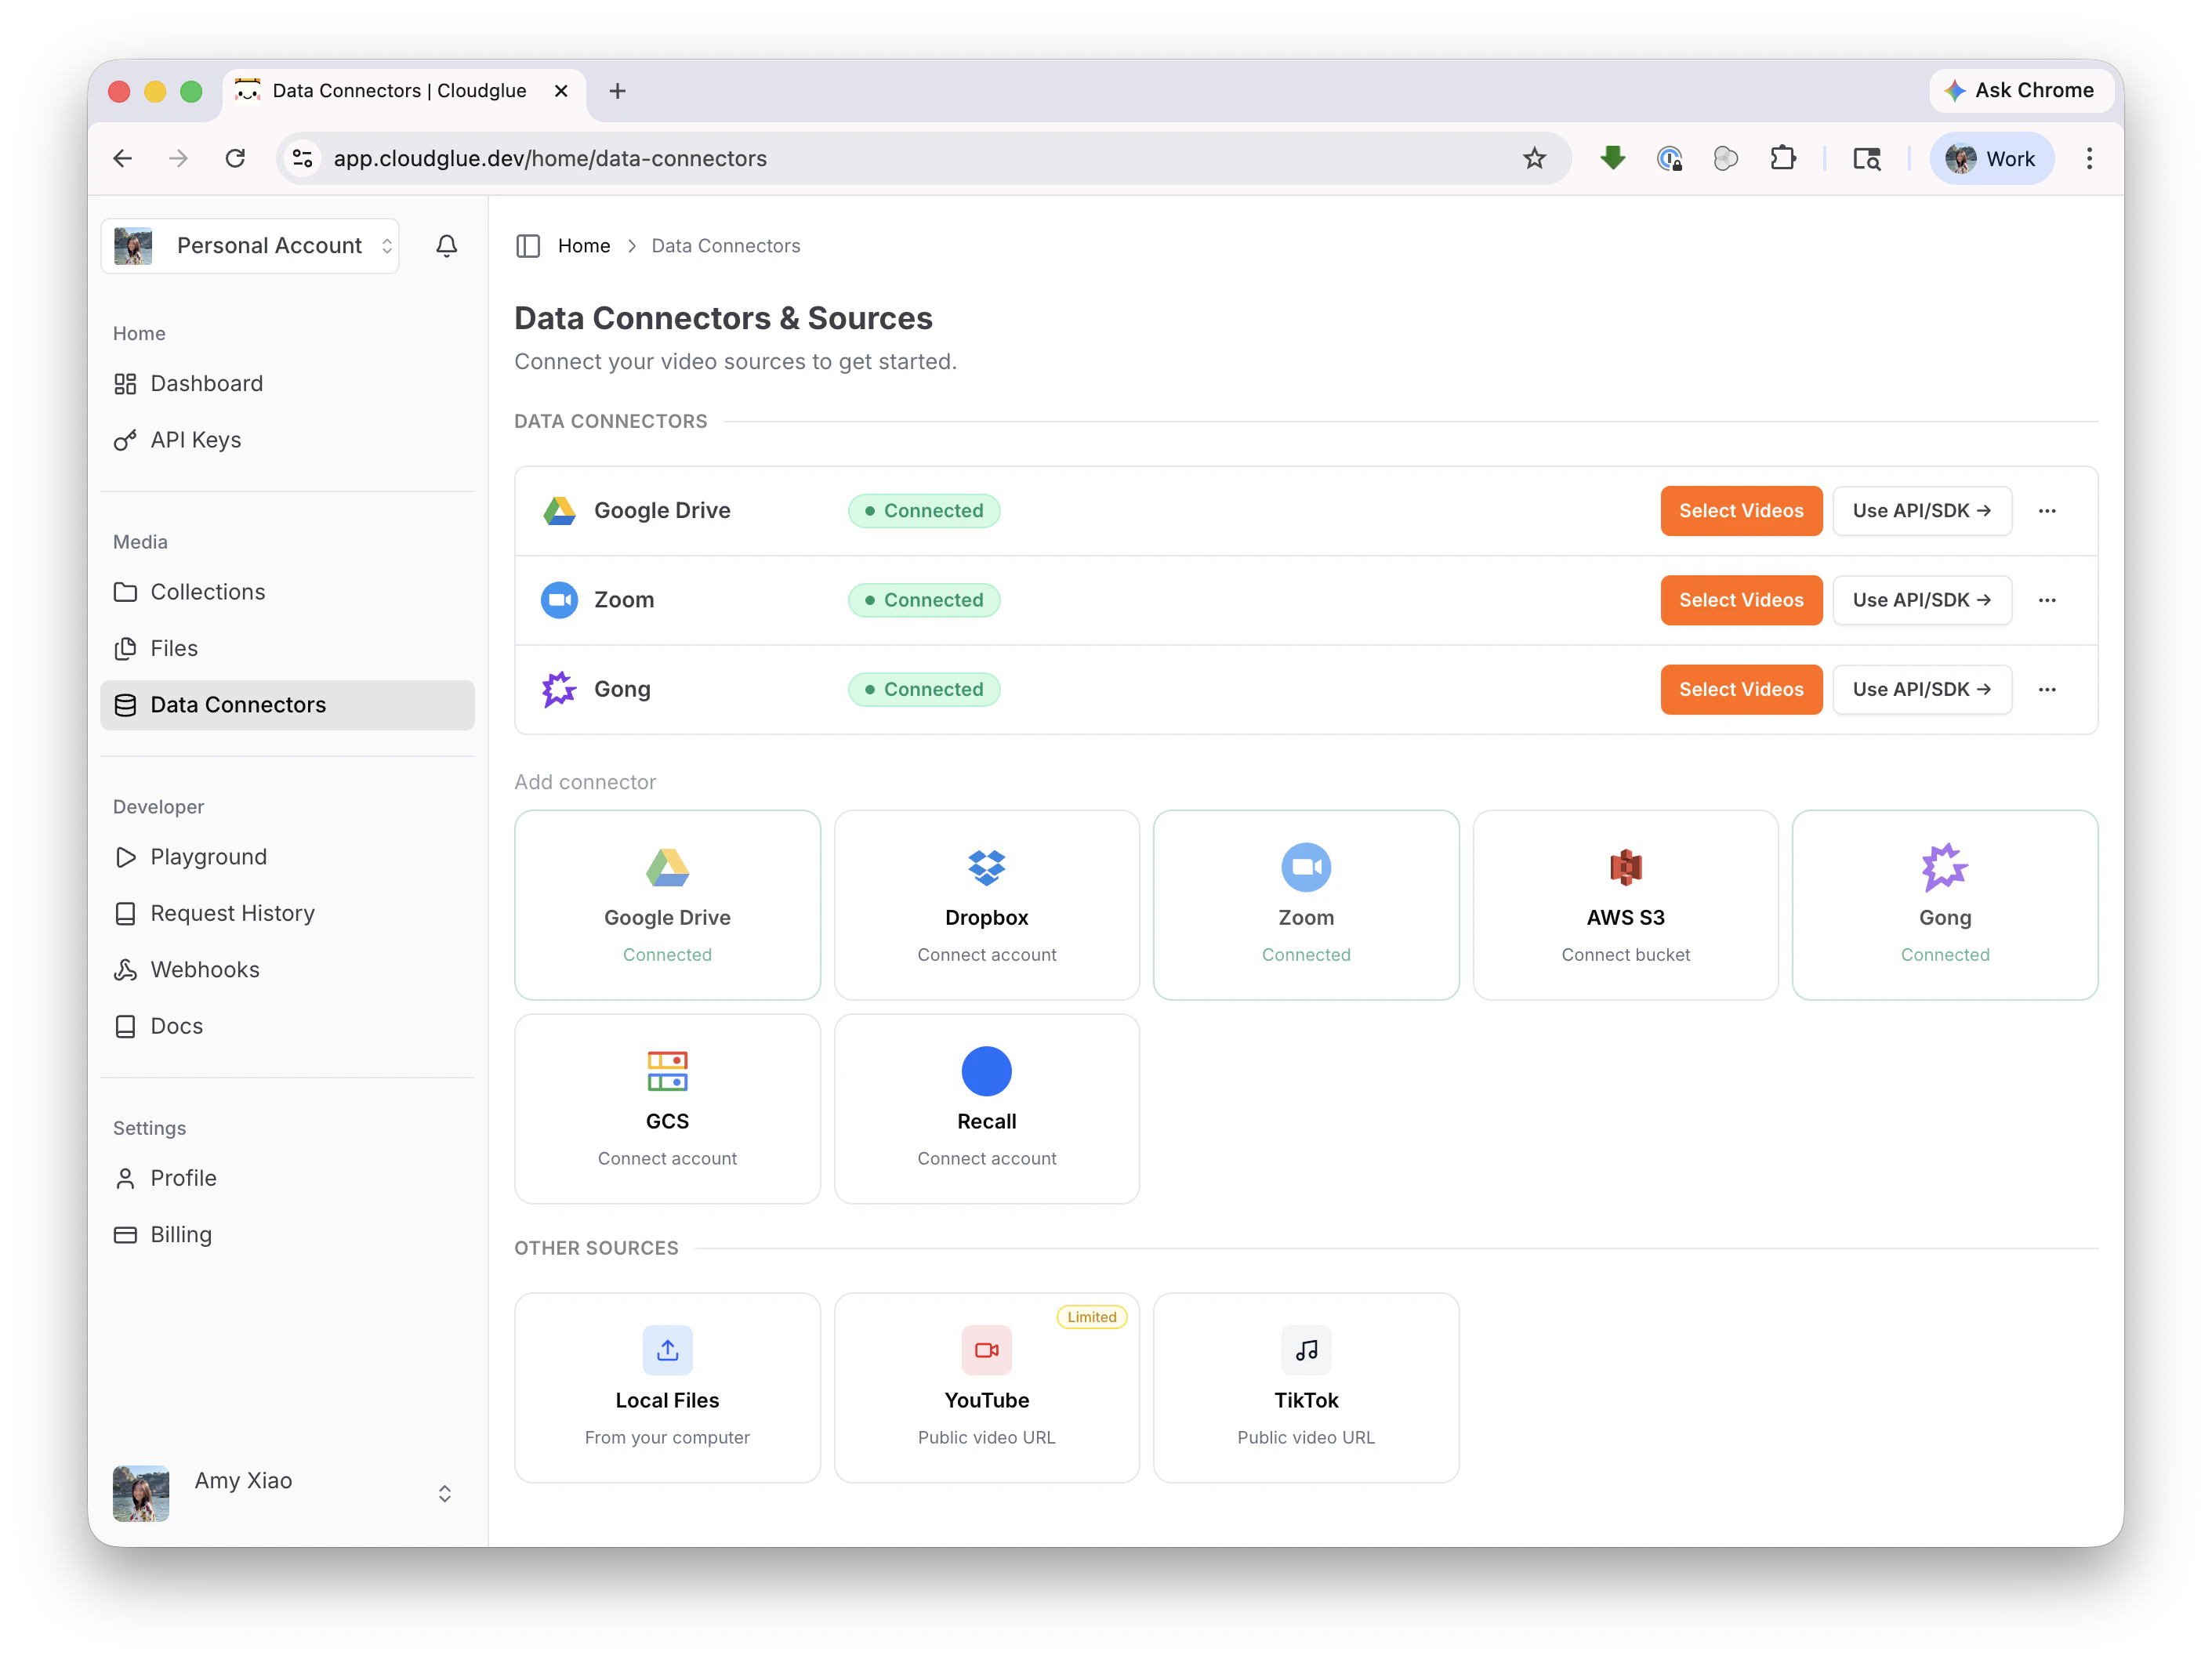
Data Connectors
Data connectors give Cloudglue secure access to your cloud video sources, making it easy to add many files at a time and optimized for large files. Connect once, then add videos anytime.Supported Data Connectors
We’re continuously adding more:Google Drive
Dropbox
Zoom
Gong
AWS S3
Google Cloud Storage
Recall.ai
Need a connector that’s not listed? Contact our
team to discuss adding support for your data
source.
1. Select the connector you’d like to grant Cloudglue access to
2. Authenticate
Each connector has its own authentication steps. See the individual connector pages above for setup instructions.3. You’re ready to add videos!
Once connected, you can add videos to a collection in two ways:- Dashboard
- API/SDK
Browse your connected source and pick which videos to add to a collection. Best for quick testing and one-off imports.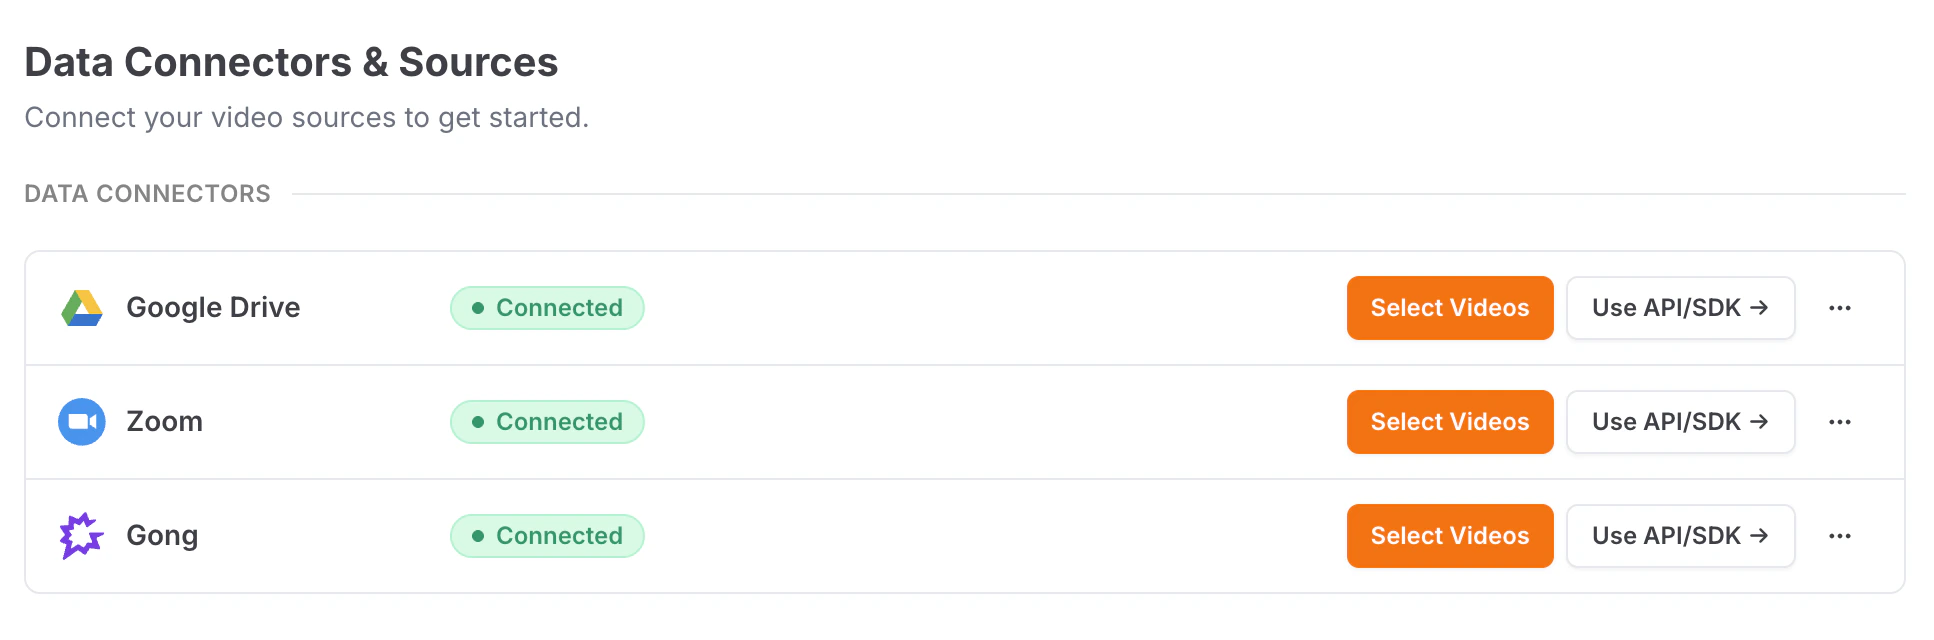

4. Start working with your media
That’s it! You can now start working with your videos — chat across them, search for specific moments, extract structured data, and more. The possibilities are endless. :)Search
Find specific moments across your videos
Chat
Ask questions across your collections
Extract
Pull structured data from video content
Describe
Get rich descriptions of your videos
Local Files
Add video files (MP4, MOV, WEBM) directly from your computer. Learn more → Add on the dashboard: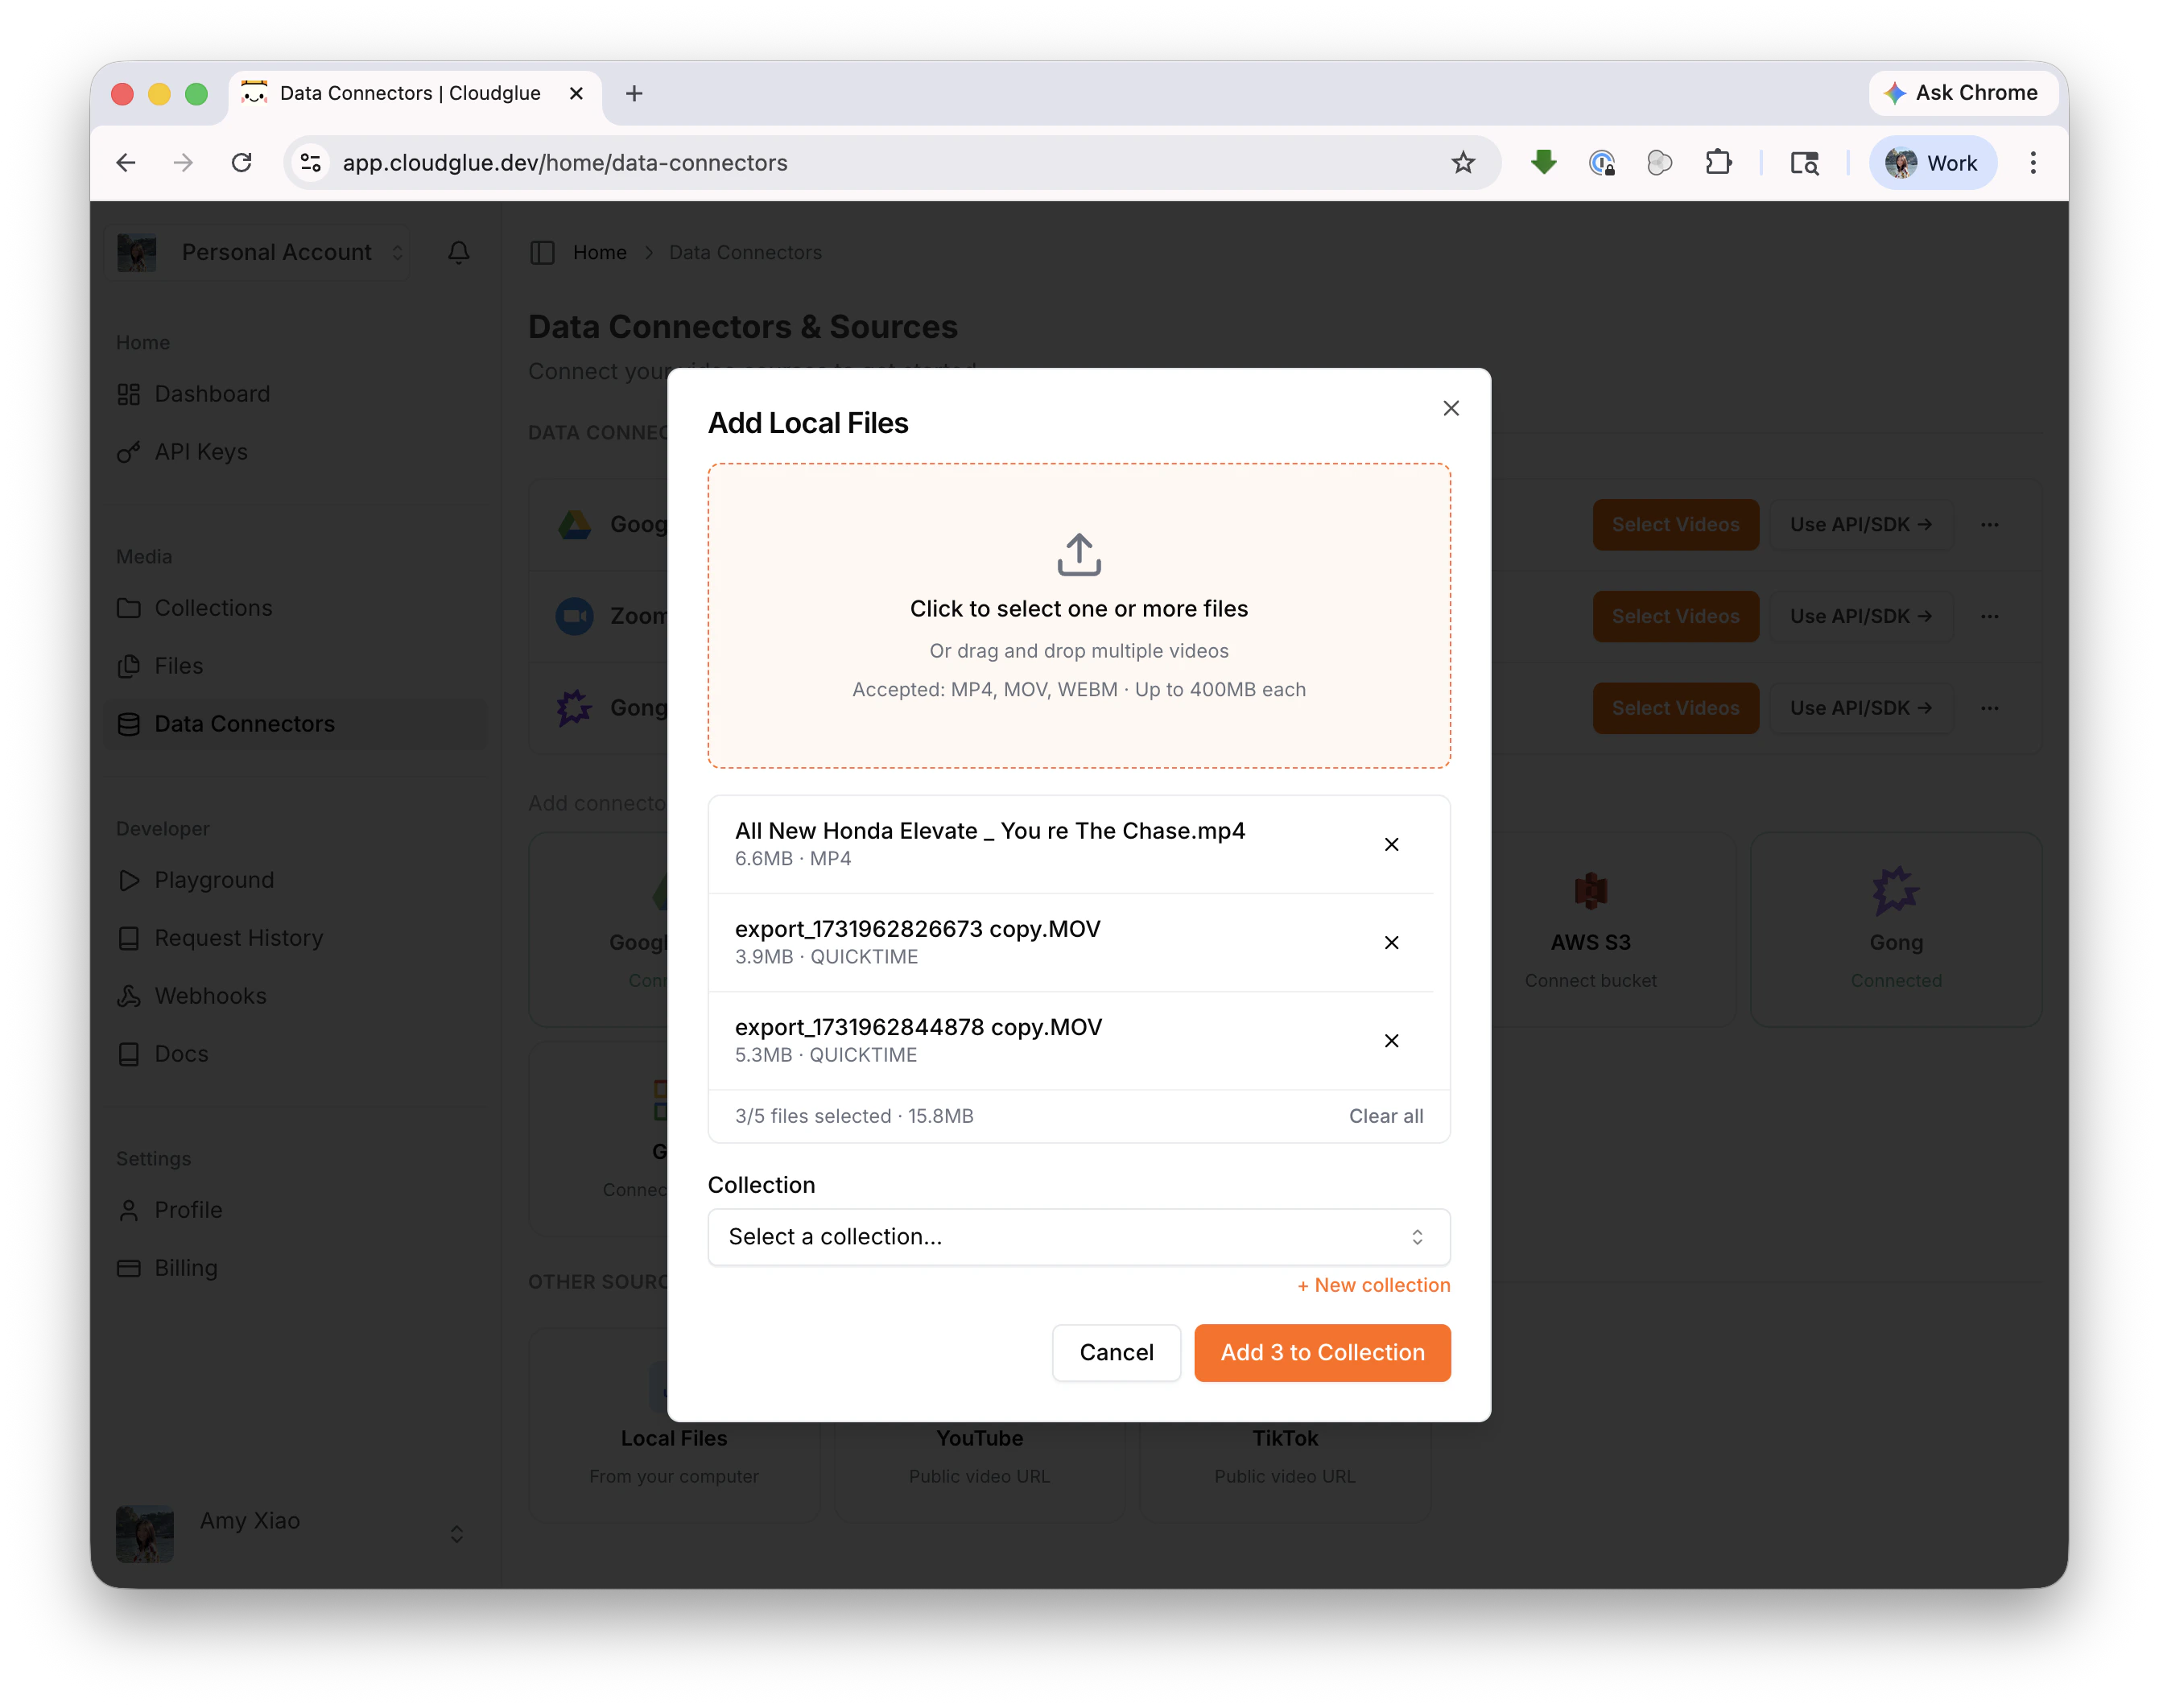
Public URLs
You can also add videos by pasting a URL — no data connector setup needed.HTTP URLs
Add any publicly accessible video via its URL. Learn more →TikTok URLs
Paste public TikTok video URLs to add them to a collection. Full multimodal analysis (audio, visuals, and text). Learn more →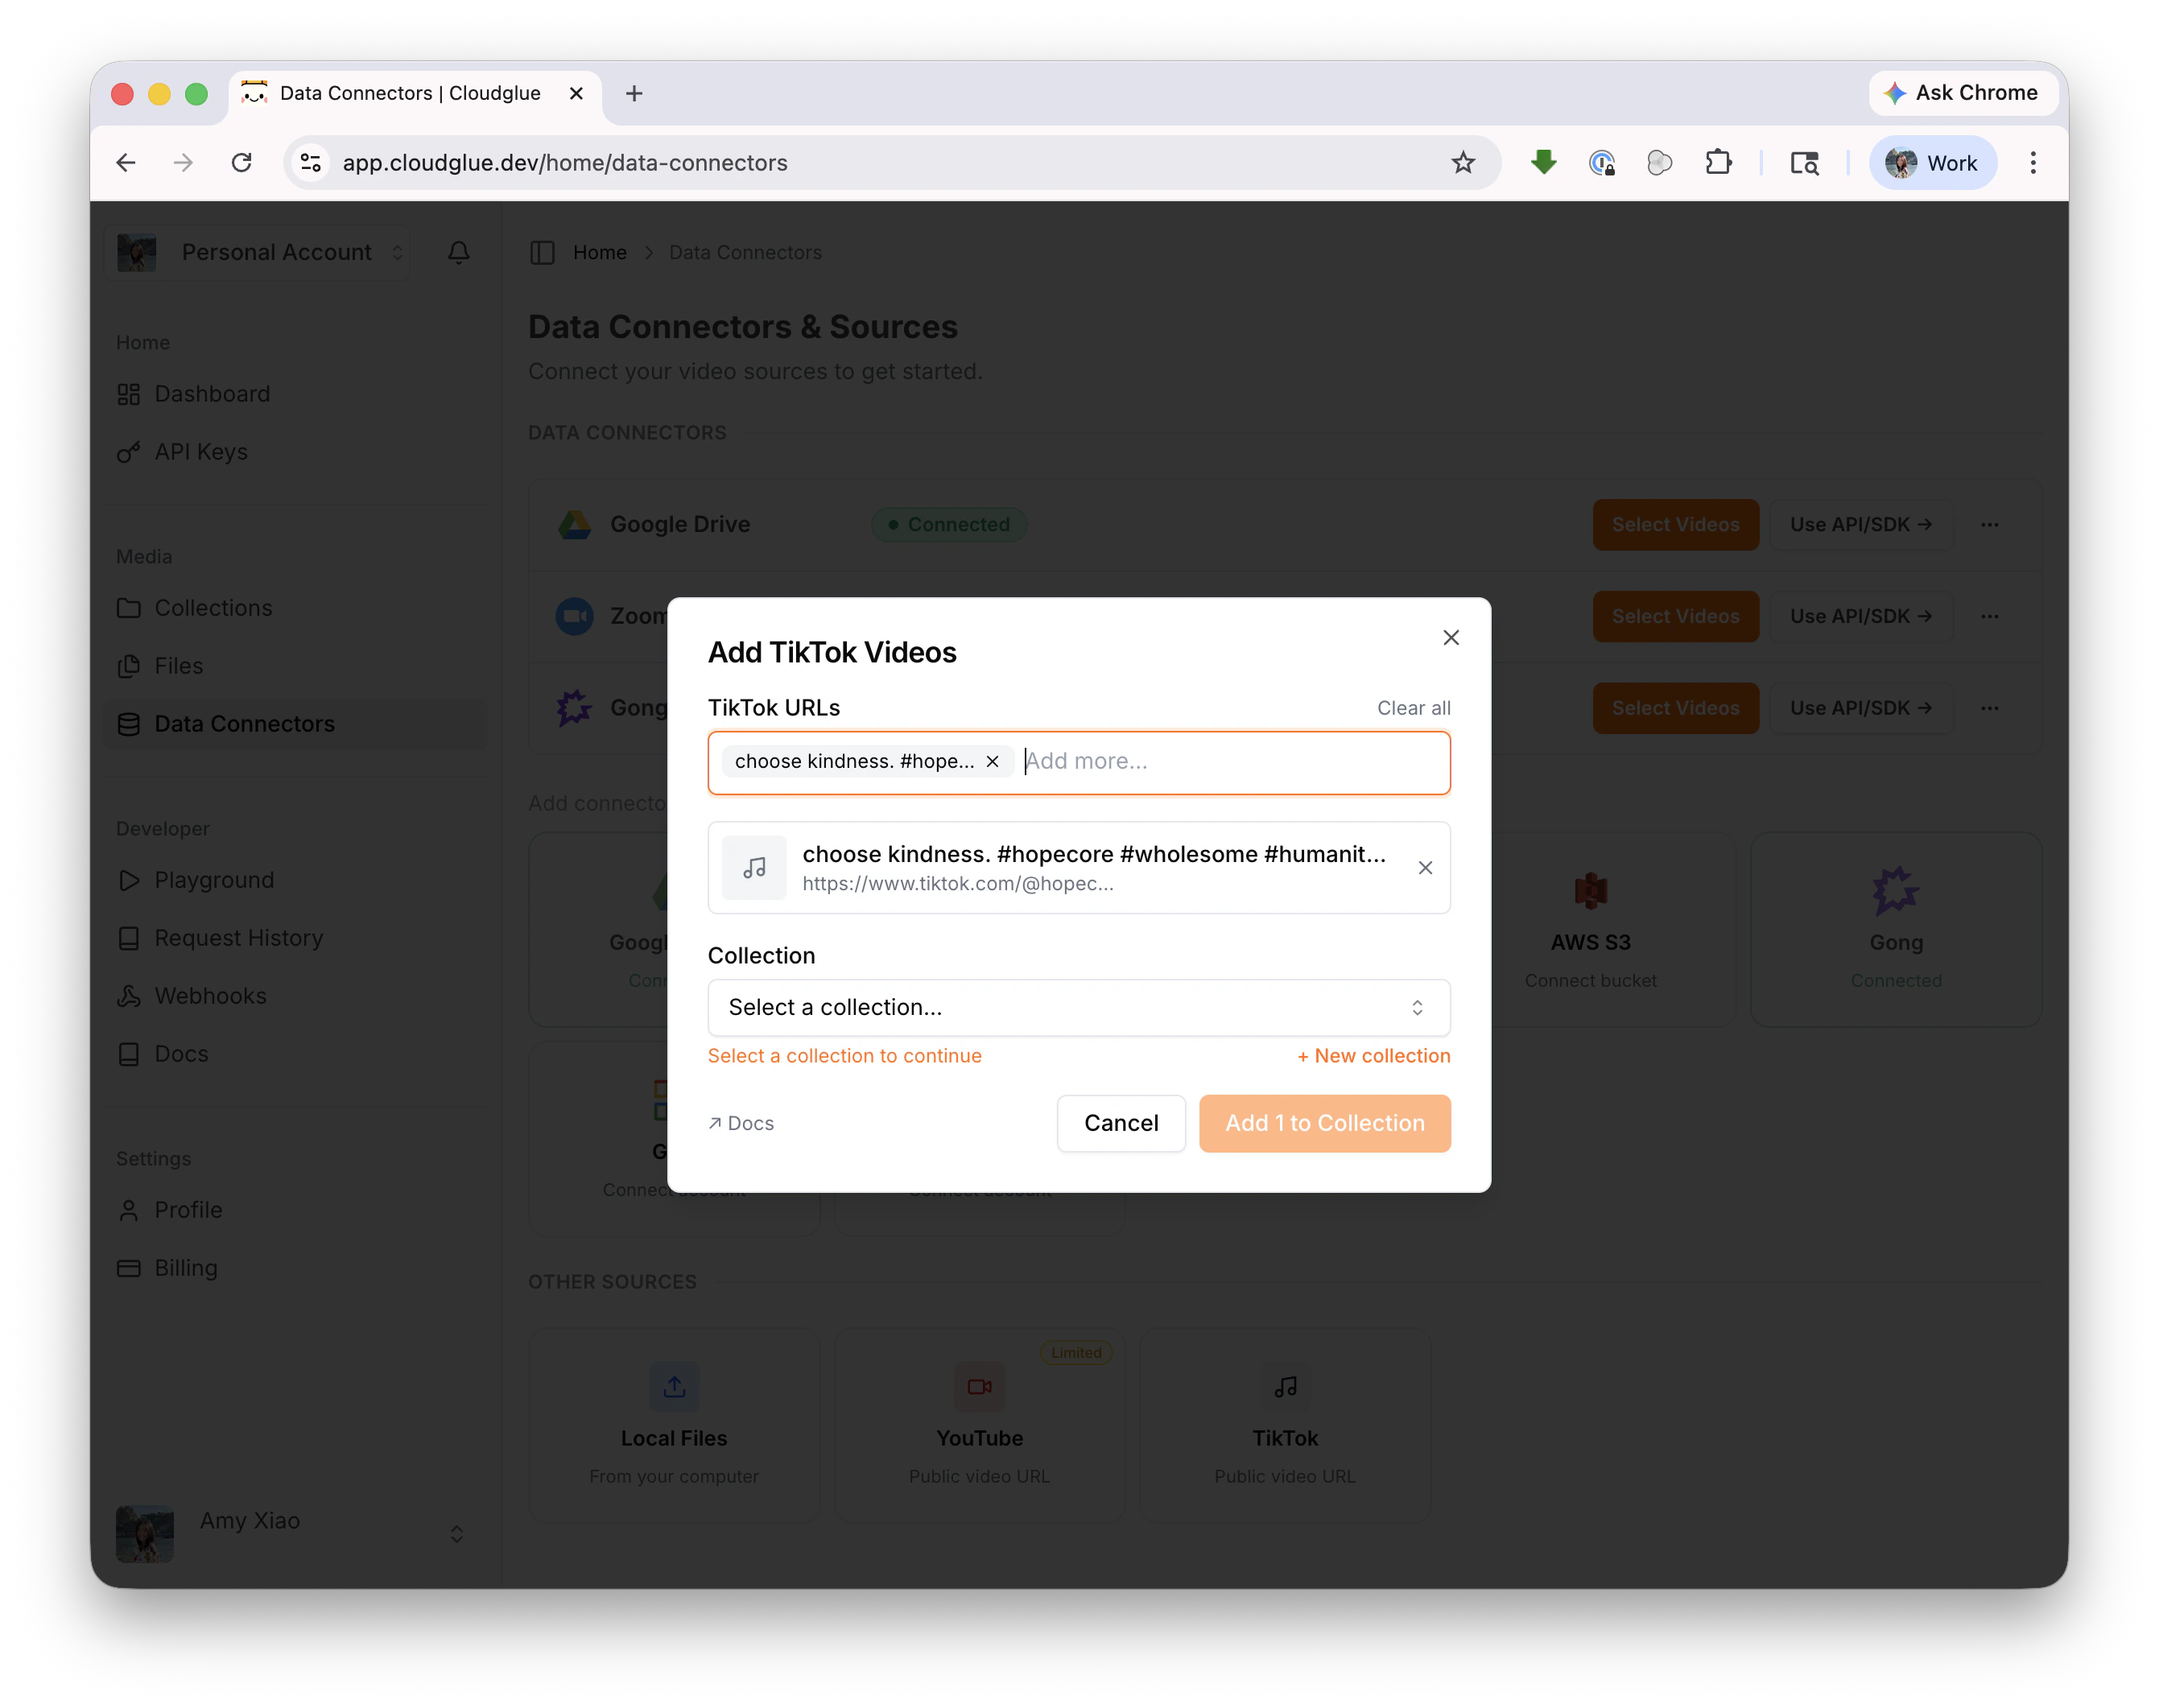
YouTube URLs
Paste public YouTube video URLs to add them to a collection. Learn more →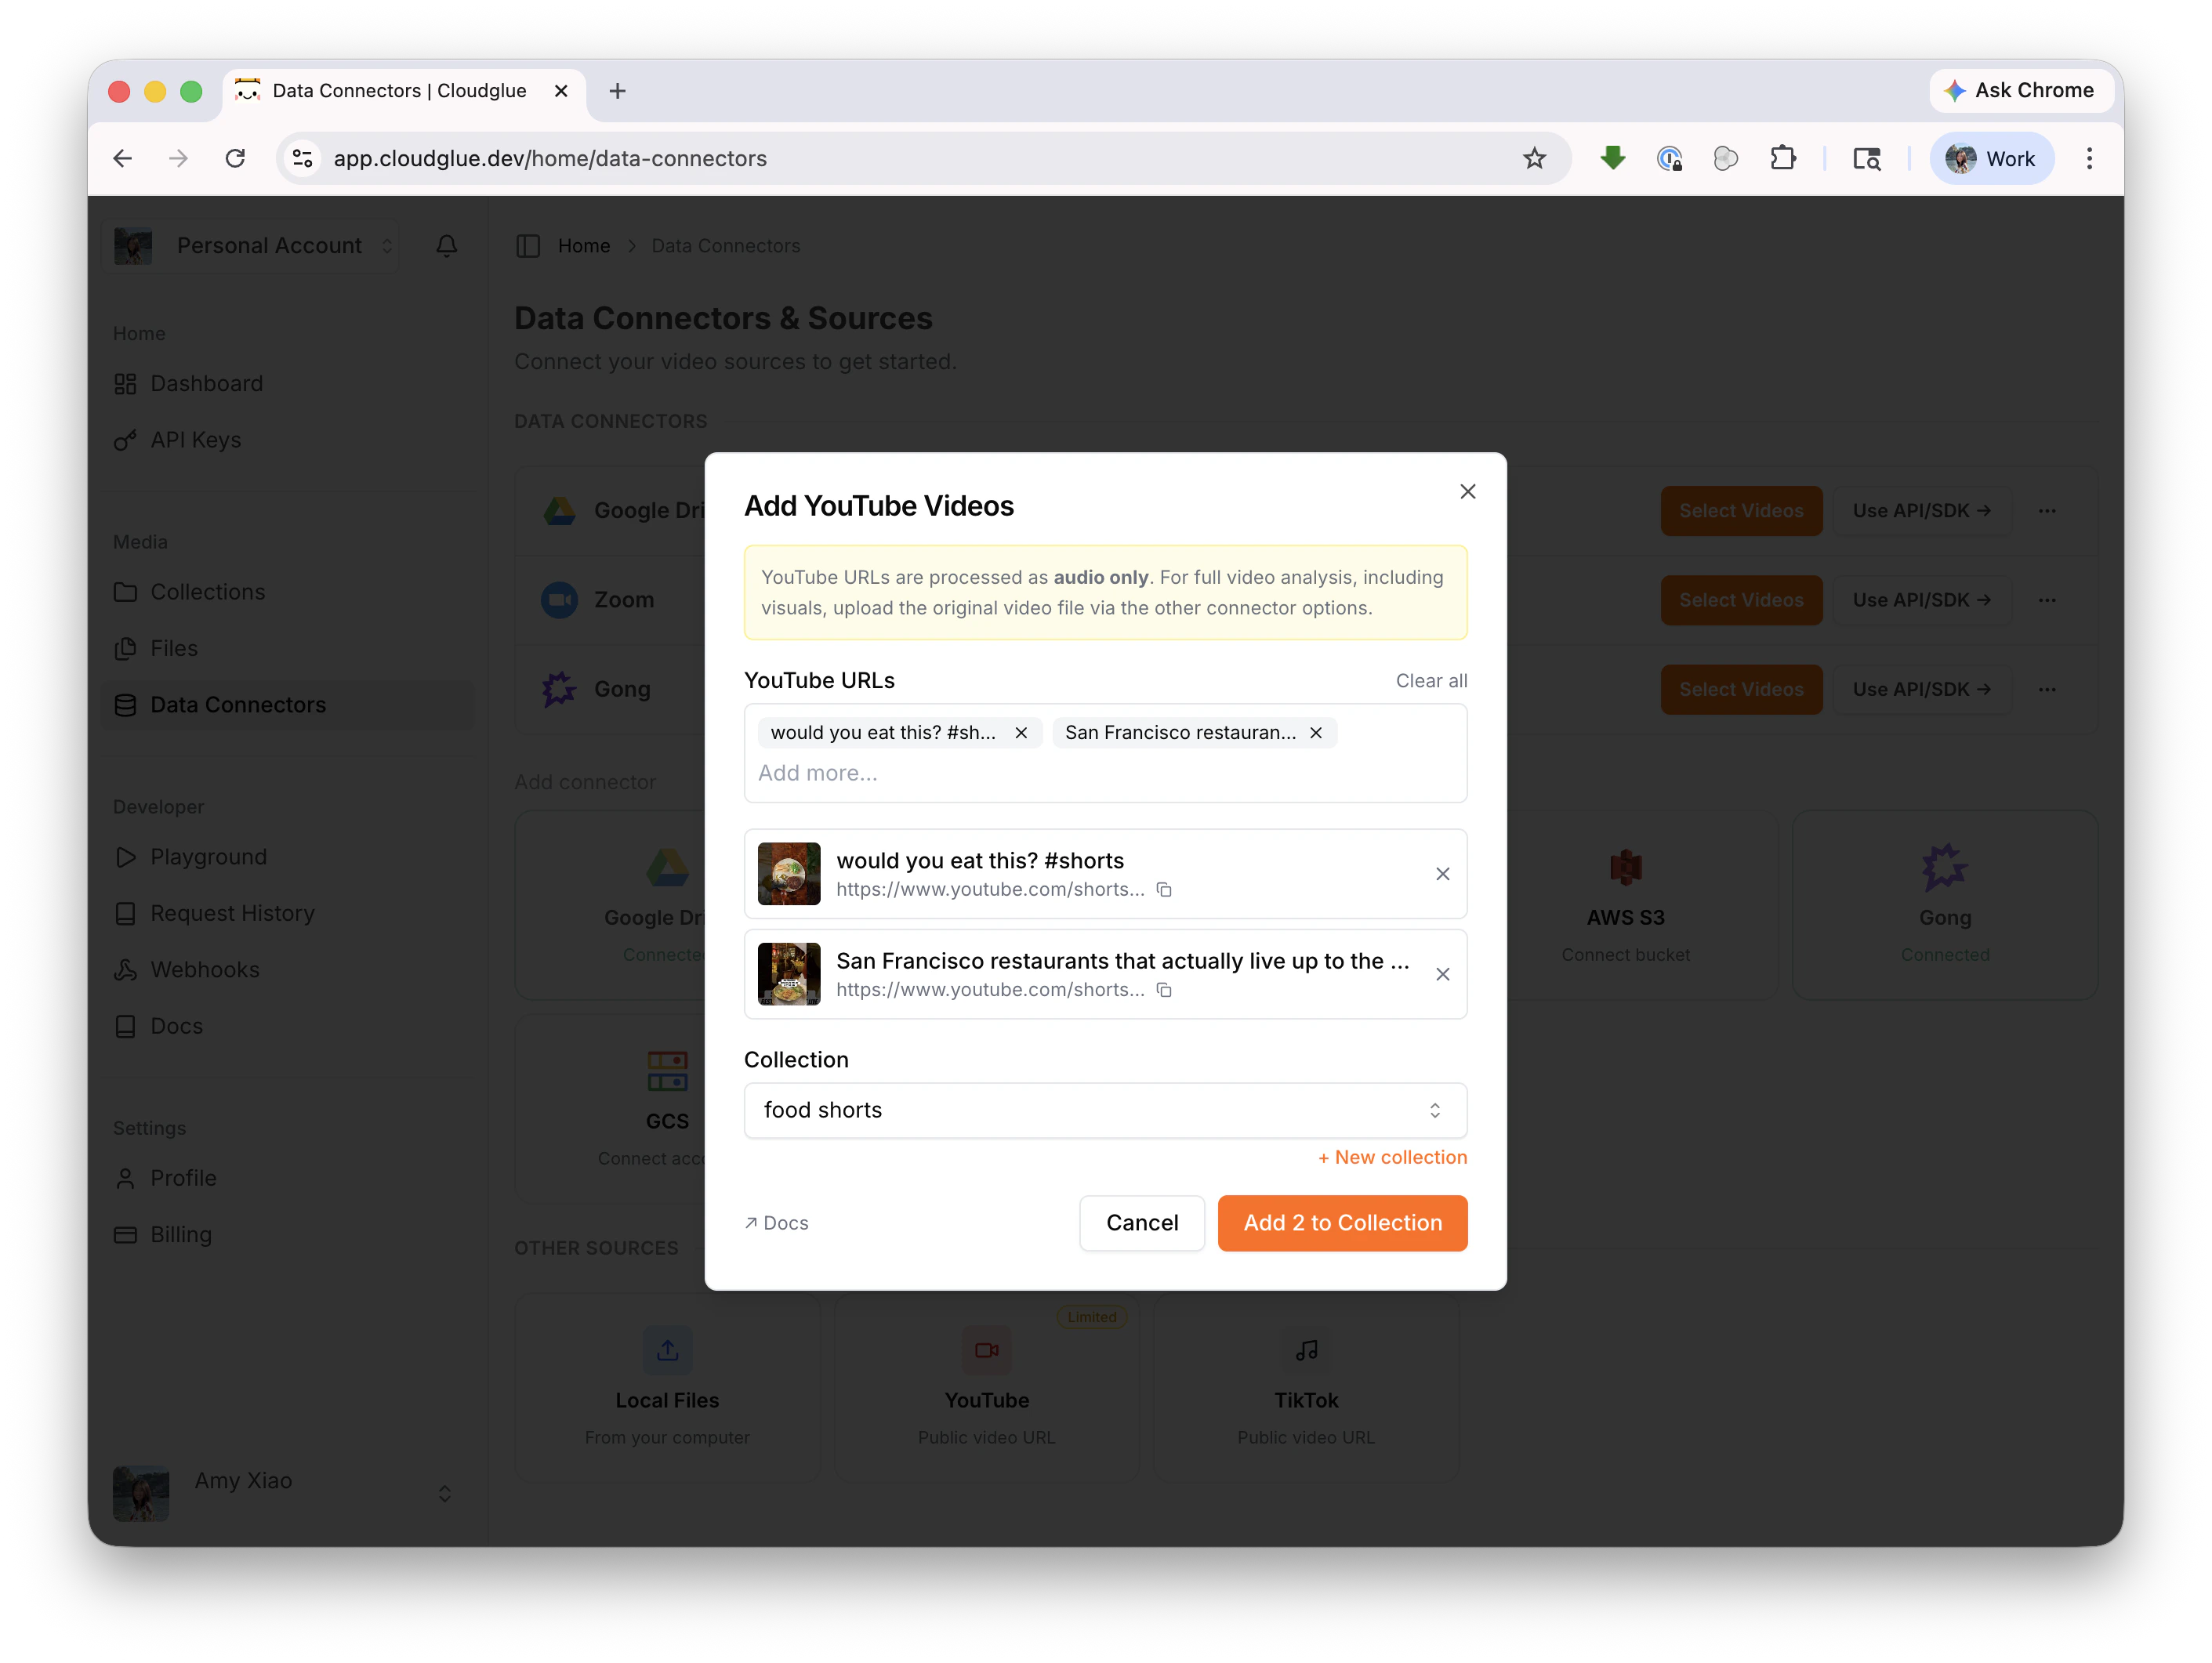
Next Steps
Ready to get started? Dive into the guides for each method:- Data Connectors — Set up Google Drive, Zoom, S3, Gong, and more. Each guide walks you through authentication and your first import.
- Public URLs — Add videos from HTTP URLs, YouTube, or TikTok — just paste and go.
- Local Files — Add video files directly from your computer, or use the API/SDK for programmatic uploads.